A widget is an element designed to facilitate the design process and provide content to the captive portal. They are activated by clicking on them and dragging them to the design area.
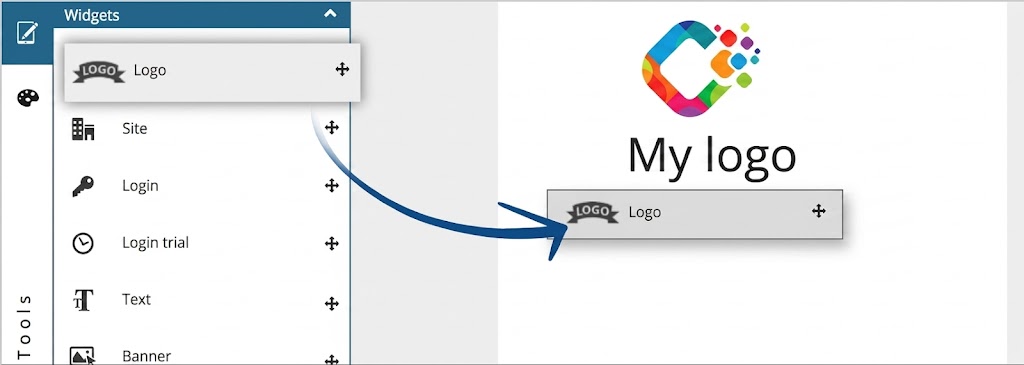 “Drag & Drop” design with Widgets
When widgets are dragged and dropped onto the design area, they stack vertically and can be reordered and moved as needed. 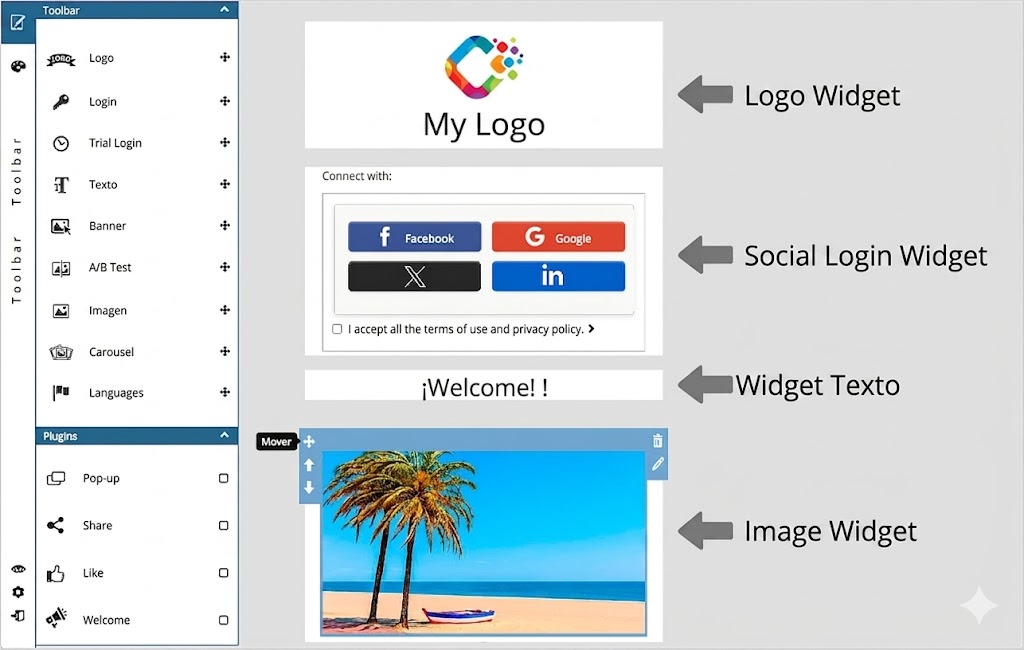 Widgets can be moved up or down to reorganize them
Each widget opens a configuration window based on its functionality.
The Widgets:
- Logo: Inserts the site’s logo image into the portal. This image is assigned by default; it is recommended to change it to match each site’s corporate identity.Site: Inserts a text line with the name of the site. The text is not editable, and the available options are text justification and font size.Login: This is the most important widget in a portal, as final user authentication would be impossible without it.
The «Login» widget opens a window containing all possible login options, grouped into different tabs: Social, PIN Code, Form, and Room/PMS.
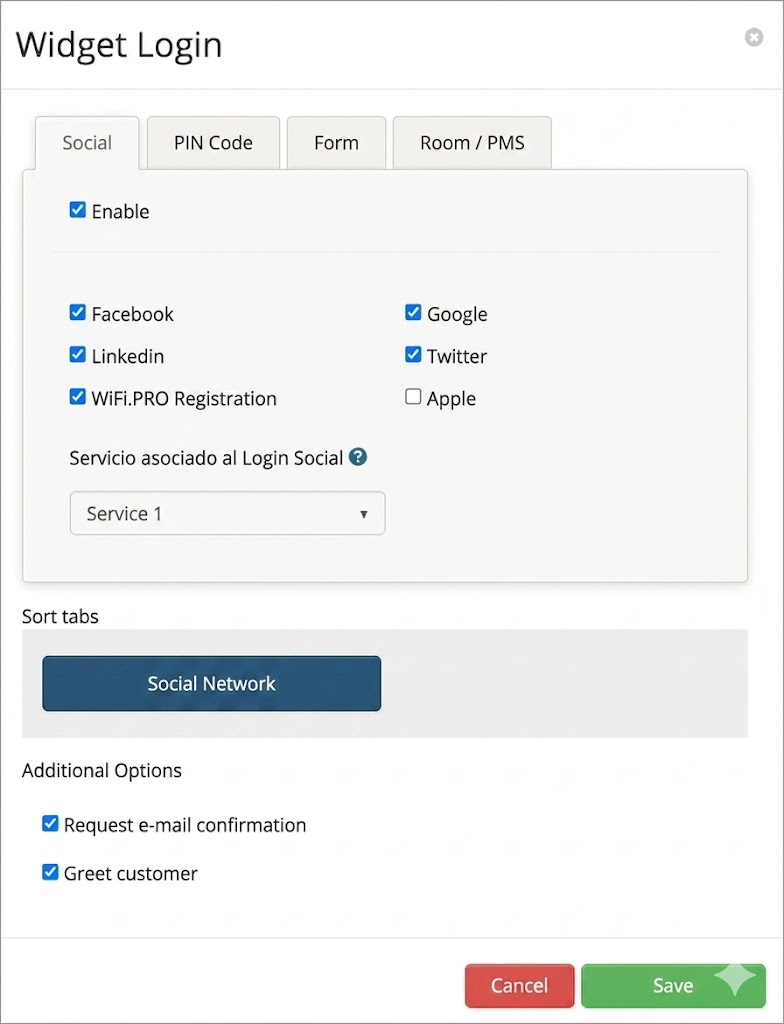
- Social: Authentication via social network user accounts. To configure them, simply check the required access types using the checkboxes.The service selector assigns the «service» that users will enjoy when connecting via social login or registration. Services can be created and configured in the «Services» module.Social login collects public profile data from the end user, which is stored in the site’s database.
NOTE: Login with an Apple account requires the end user to have «two-factor authentication» enabled in their Apple ID settings.
- PIN Code: Enables login via a PIN key. This key is provided beforehand by the establishment and is generated from the platform’s «Create PIN» section.
- Store: Enables a paid login mode where the end user decides which type of service they want and pays via PayPal. This option requires the PIN login to be activated.
- Form: Allows end users to log in simply by entering an email address. As a configuration parameter, a service associated with this login type must be indicated, where other questions for the end user can be enabled.
- Room / PMS: A login type oriented towards hotel establishments. It allows end users to access the WiFi service by identifying themselves through the PMS (Hotel Management Software). The user must authenticate in the Captive Portal using their first/last name and room number. This ensures the user is a guest staying at the hotel. Integration between WiFi.PRO and the hotel PMS is required to activate this; this integration is managed through WiFi.PRO.
The Tab Ordering option allows you to decide the order in which the different login tabs will appear. This is useful when more than one login type is activated.

Additional Options:
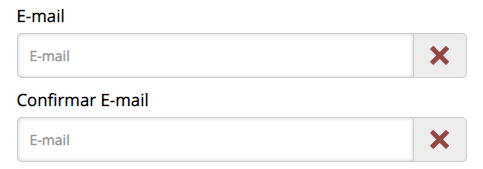
Request email confirmation: Displays a second field to re-enter the same email as a measure to prevent user errors.
-
- Greet client: Identifies a user returning to the establishment (via the device’s MAC address). Instead of showing login options, it facilitates access by greeting them with a predefined text and providing the same connectivity service they enjoyed during their previous visit. A time period for remembering users can be set.
It is possible to personalize the message using %name% to include the first name and %surname% to show the last name stored in the database.
Login Trial: Two functionalities in one:
- Allows end users to log in by simply clicking an image or text. An associated «trial» service must be selected from the services configured for the site.
- Allows offering a connection for a limited time so the user can check the service quality before deciding to pay. PIN login and «Store» must be previously activated to allow the user to purchase a WiFi service directly from the captive portal.
- Text: Allows for quick and easy text addition. Size, color, and justification can be customized.
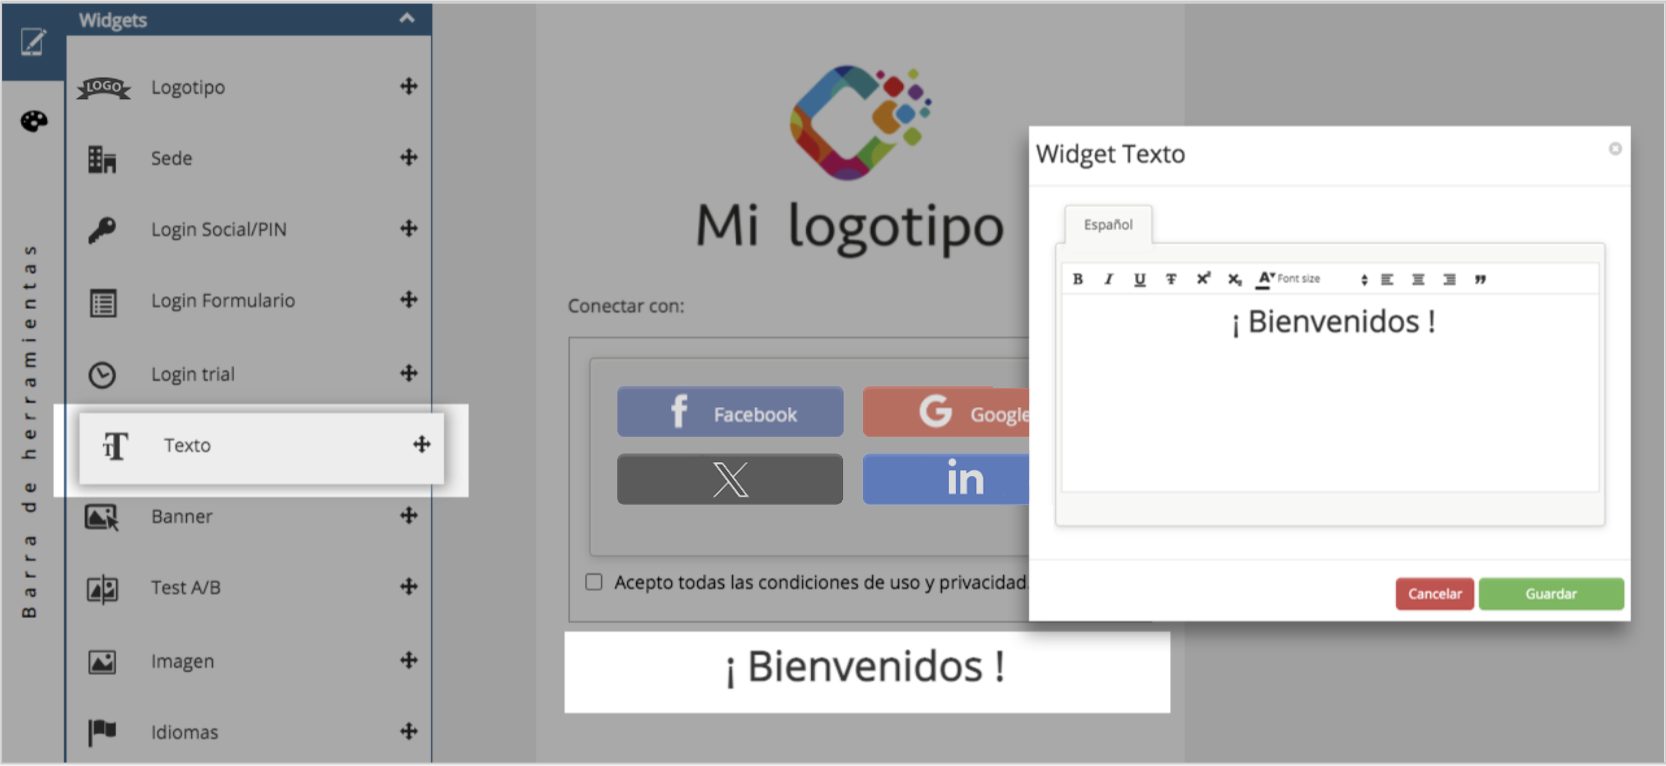 Widget texto configuration
- Banner: Allows adding an image or text with a link to a specific web address. Impressions and clicks are tracked for later analysis, so a name must be assigned to the banner for correct identification in the statistics section. Multiple banners can be added. This widget includes Smart Filters; if none are specified, the banner remains always visible.
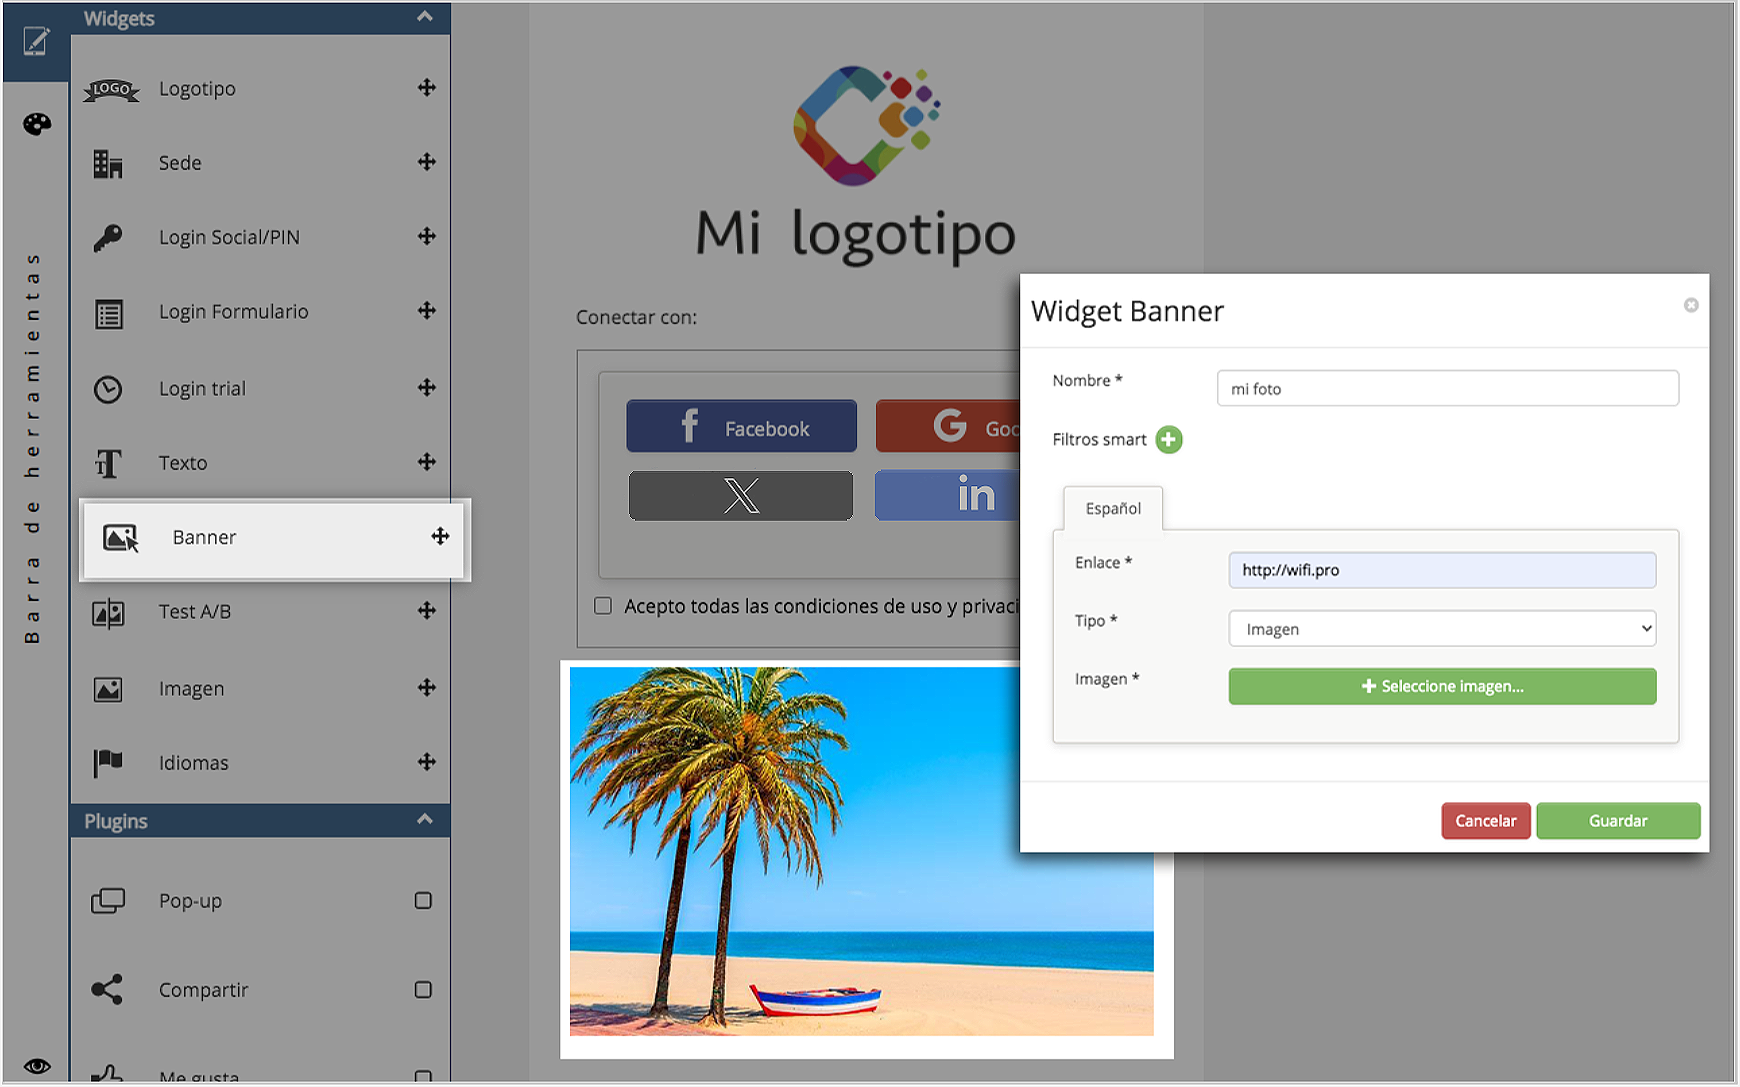 Widget Banner. configuration
- A/B Test: A digital marketing tool to run an experiment with two banners to measure which one is more successful based on clicks. Two banners are configured with their respective links, images, and expiration times. They are shown sequentially to users. Once the test ends, the banner with the most clicks is automatically set. Results can be consulted in the widget properties and are also sent via email to the user who added the widget.
- Image: Allows adding images to the portal (JPG, transparent PNG, and animated/static GIF). A graphic file must be specified for each available language.
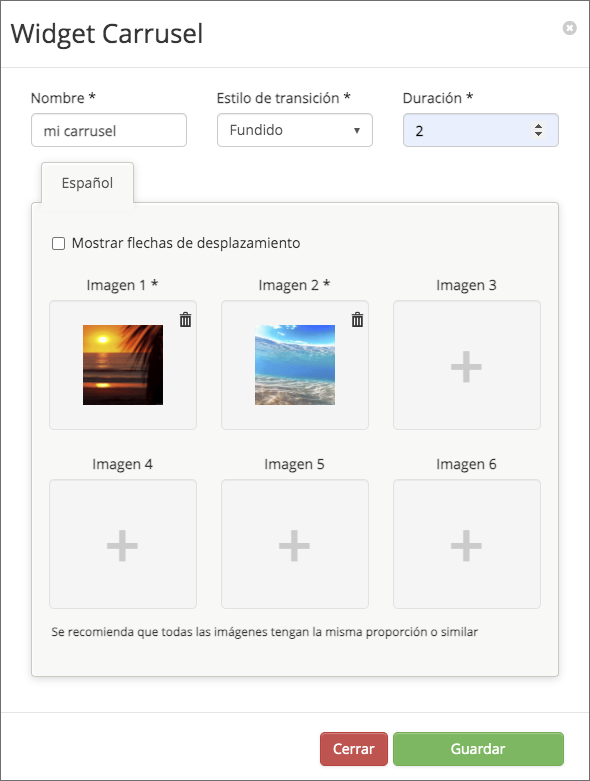
- Carousel: Displays a set of images in a rotating format. Configuration options include transition types and display time per image. Manual navigation arrows or automatic advancement can be enabled.
- Languages: Adds a language selector to the portal. Only languages added in the portal configuration will be available. Display modes include names, language codes, or flags. By default, the captive portal automatically displays in the user’s language.